Renovating a historical home is a unique undertaking that balances modernization with preserving character and charm. These homes carry the weight of history, and each renovation decision must respect the past while making the space livable for today’s standards. Here's how to approach the delicate task of updating a historical home without stripping away its soul.
Understand the Historical Significance
Before beginning any work, it’s crucial to understand your home's architectural and historical significance. Research its origins, the period it represents, and any defining features characteristic of that era. Local historical societies or a consultation with a historian can provide insights into your home’s background and guidance on preserving its integrity.
Work with Preservation Guidelines
Many historical homes are subject to regulations that govern renovations. Check if a heritage or historical society lists your home and what guidelines you follow. These guidelines often aim to preserve the exterior look and essential character-defining elements of historical properties. Understanding these rules early in planning will help you avoid costly mistakes and legal issues.
Prioritize Structural Integrity
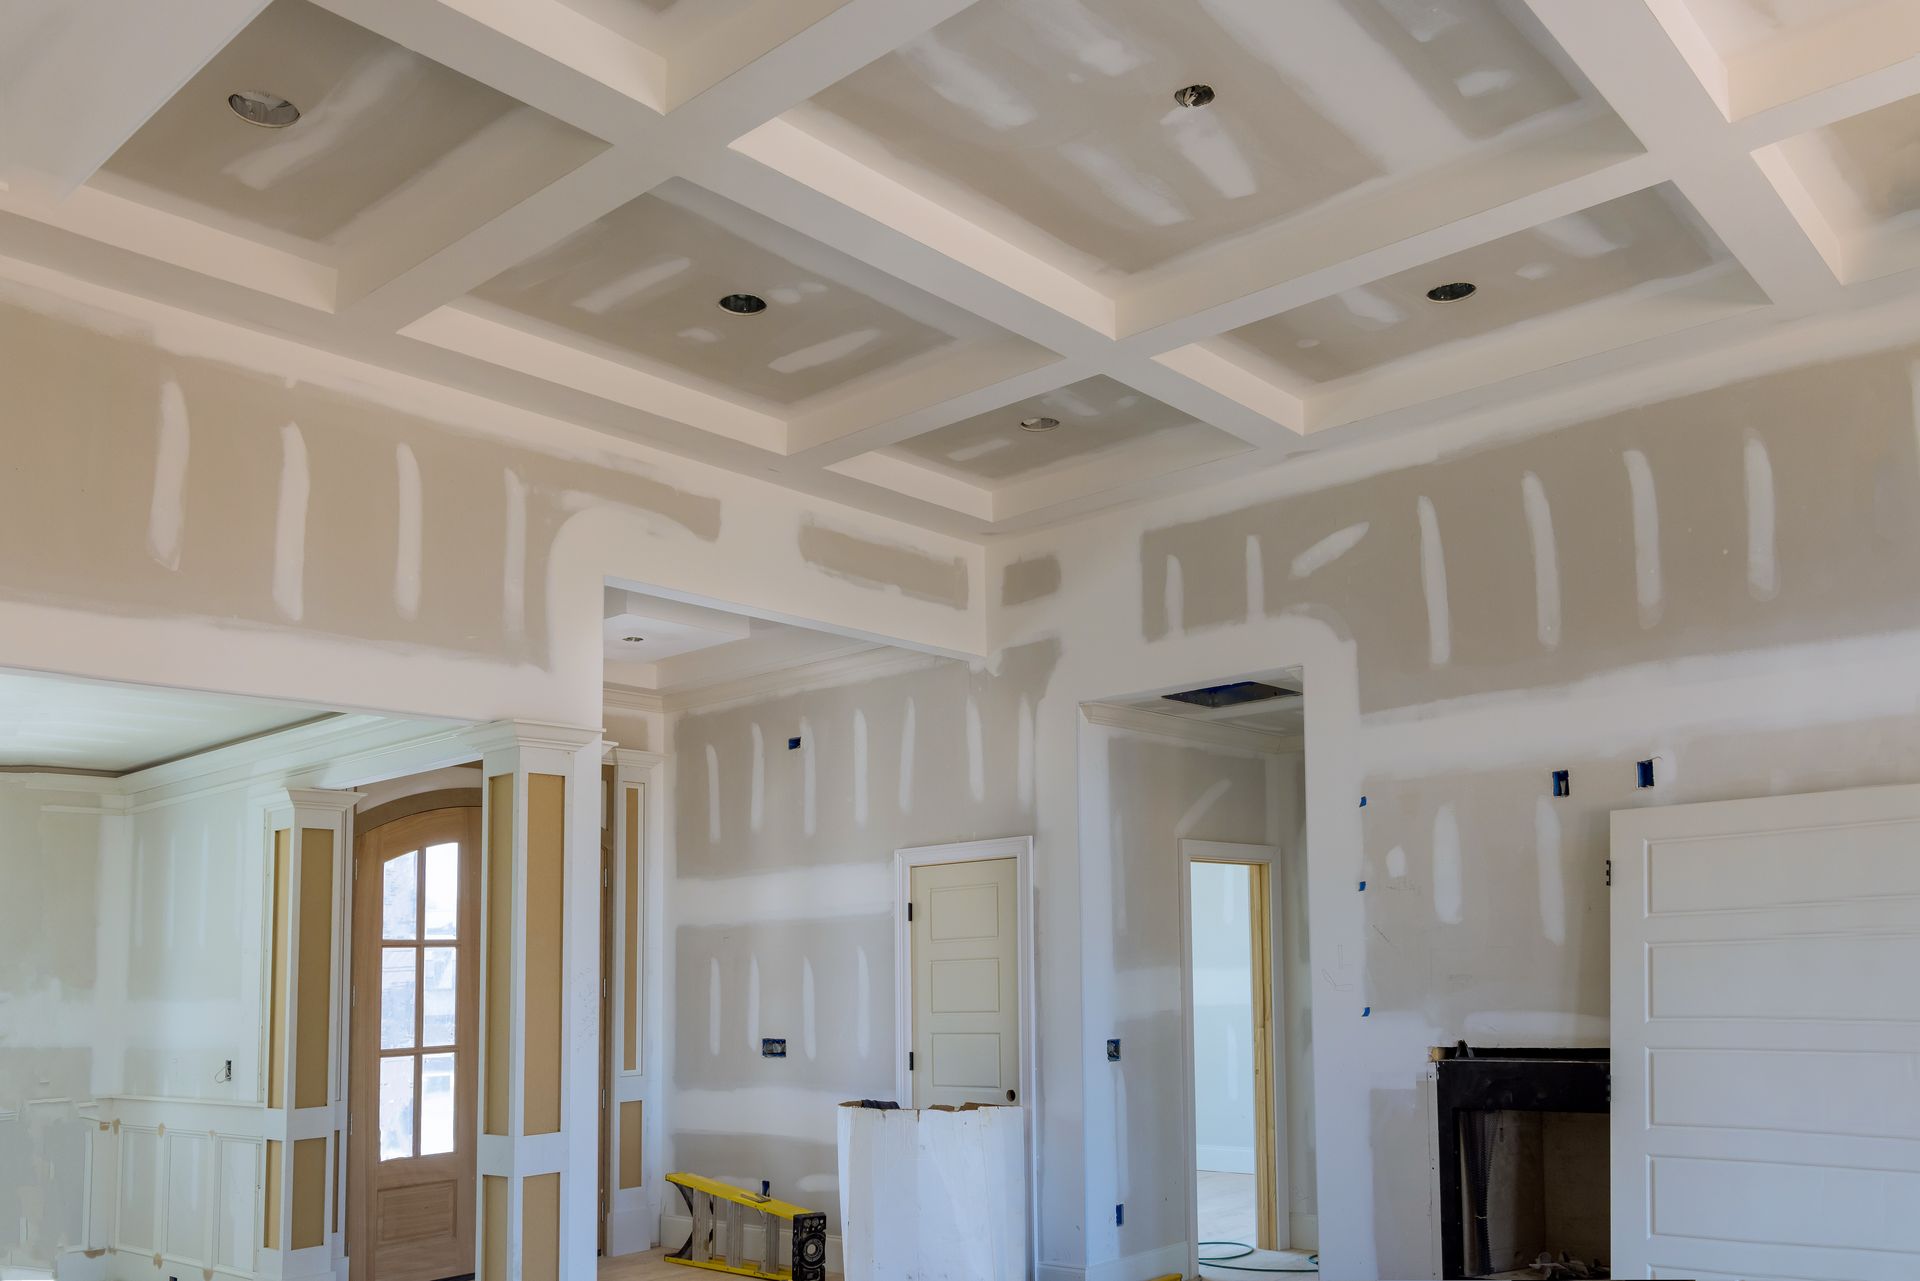
Historical homes often require significant structural updates to meet modern safety standards. Prioritize these upgrades:
- Roof and Foundation Repairs: Ensure these critical elements are in good condition to protect the rest of the structure.
- Updating Electrical and Plumbing Systems: is essential for safety and functionality but must be done carefully to preserve the building's integrity.
Preserve and Restore Key Elements
Identify and preserve key architectural elements that define the home’s character:
- Original Woodwork: Strive to restore original woodwork, such as baseboards, moldings, and staircases. If restoration isn’t possible, consider custom reproduction.
- Windows and Doors: If possible, maintain the original frames and details. Use materials and styles that match the historical period if replacements are necessary.
- Floors: Preserve original hardwood floors when possible, or use period-appropriate materials for replacement or repair.
Integrate Modern Amenities Carefully
Modernizing a historical home for comfortable living is essential but should be done without overshadowing its character:
- Kitchens and Bathrooms: These areas often require complete updates to meet contemporary needs. Choose designs that complement the home's architectural style while discreetly incorporating modern appliances and conveniences.
- Heating and Cooling: Installing modern HVAC systems in historical homes can be challenging. Opt for solutions like mini-split systems or radiant heat that minimize alterations to original structures and aesthetics.
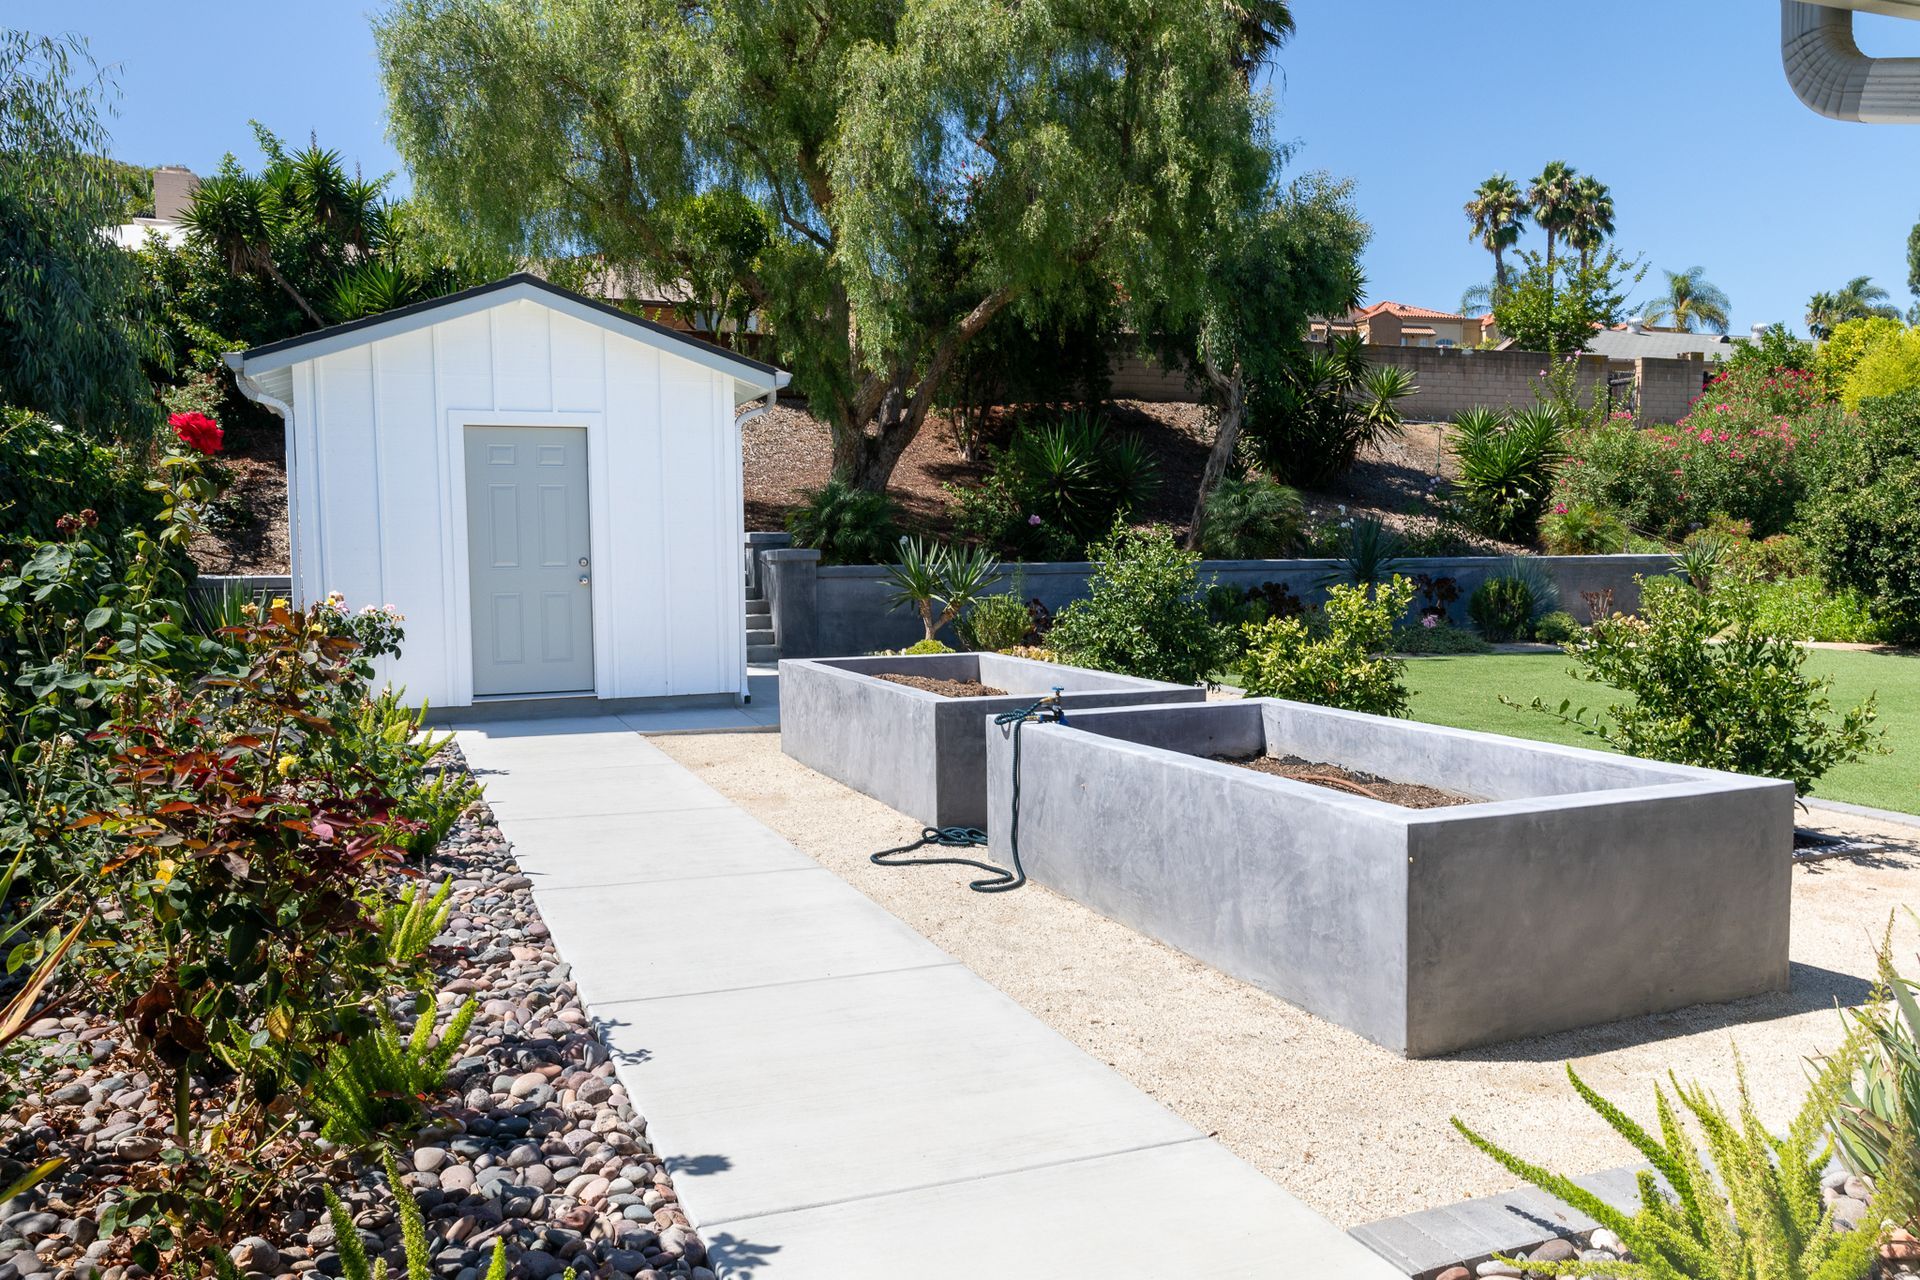
Use Sympathetic Materials
When additions or replacements are necessary, select materials that reflect the home’s era and offer longevity and energy efficiency. This might mean opting for specially milled wood that matches the original, period-appropriate paint colors, or roofing that mimics historical materials but uses modern technology.
Document the Process
Keep detailed records of all renovation decisions and processes, including photographs before, during, and after the renovation. This documentation can be invaluable for future renovation work or historical records.
Conclusion
Renovating a historical home is both a privilege and a responsibility. It’s about extending the life of a home that has stood the test of time, making it functional for today while respecting its historical essence. With careful planning, respect for the past, and thoughtful integration of modern necessities, you can ensure that your historical home continues to be a testament to its era even as it moves into the future.