Open-Plan Living: Making the Transition in Your Renovation Project
April 8, 2024

Open-plan living spaces have surged in popularity, reflecting modern homeowners' desire for more fluid, flexible, and interactive environments. This architectural trend, which eschews traditional compartmentalized room layouts in favor of open, airy spaces that blend living, dining, and kitchen areas, has become synonymous with contemporary living. If you're considering transforming your home into an open-plan layout, planning and execution are key to achieving a cohesive, functional, and aesthetically pleasing space. Here’s how to navigate the transition.


Understanding the Appeal of Open-Plan Living

Before renovating, it’s important to appreciate why open-plan living has become desirable. These spaces offer numerous benefits, including improved natural light, enhanced social interaction, and a greater sense of spaciousness. They also provide the versatility to adapt the space for different uses, whether hosting large gatherings or enjoying everyday family life.


Planning Your Open-Plan Renovation

Assess Structural Considerations

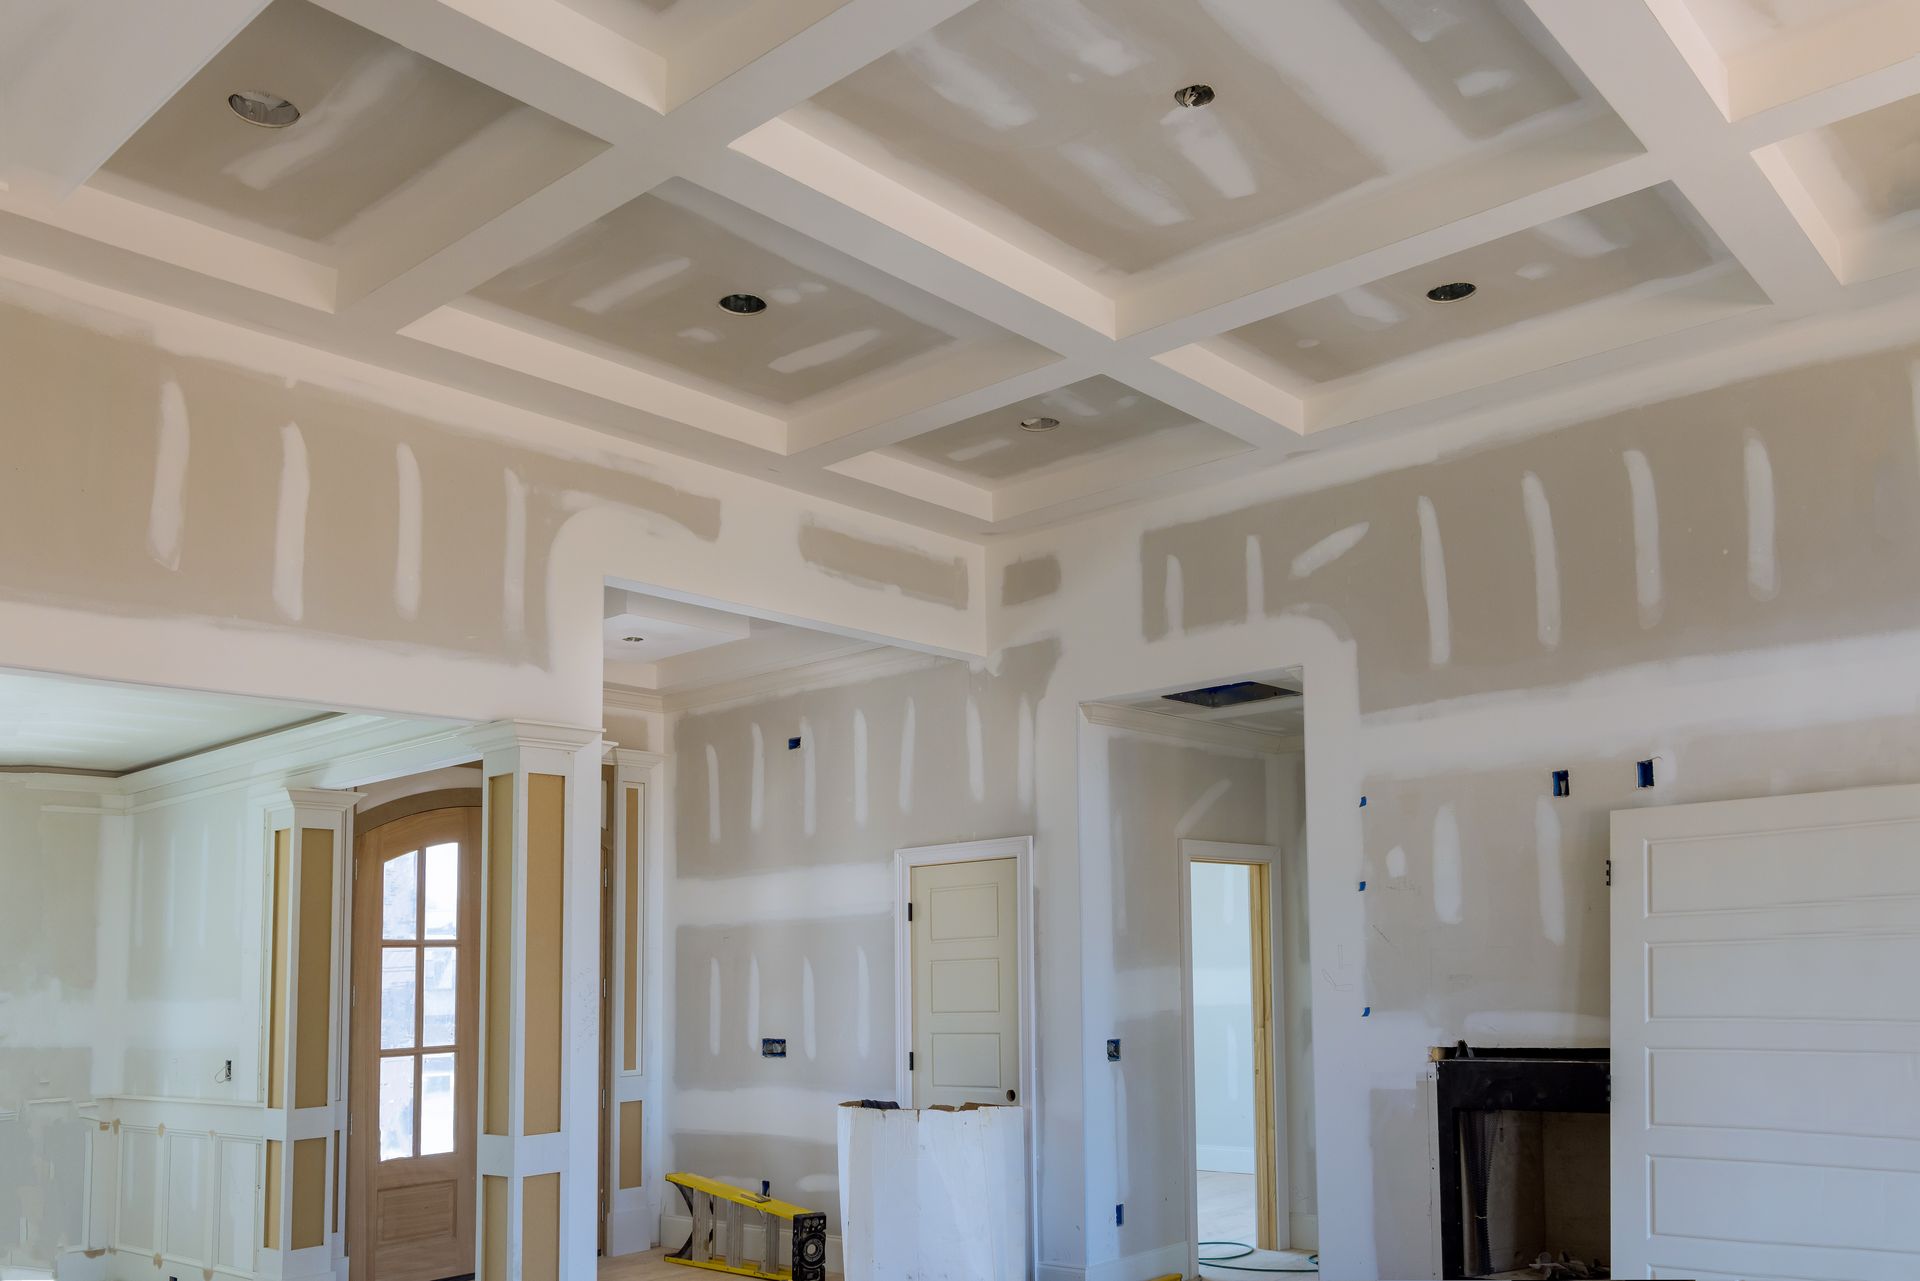
The first step in creating an open-plan space is to assess the structural implications of removing walls. This often involves consulting with an architect or structural engineer to ensure that any walls to be removed are not load-bearing or that appropriate support, such as RSJs (Rolled Steel Joists), is incorporated to maintain the building's integrity.


Zoning Your Space

One of the challenges of open-plan living is creating distinct functional zones within a larger space. Strategic placement of furniture, changes in flooring or ceiling heights, and the use of color or lighting can all help delineate areas without physical walls.


Ensure Cohesive Design

With open-plan spaces, the design elements must be cohesive across the different zones to create a unified look and feel. This includes consistent flooring, complementary color schemes, and matching or coordinating materials and finishes.


Lighting and Acoustics

A well-designed open-plan space requires careful consideration of lighting and acoustics. Layered lighting solutions can help define different areas and create the right ambiance, while materials such as rugs, curtains, and soft furnishings can help manage sound levels.


Executing Your Open-Plan Renovation

Selecting the Right Team

Choosing the right contractors and specialists is crucial to the success of your renovation project. Look for professionals with experience in open-plan conversions and ensure they understand your vision.


Managing the Process

Stay actively involved in the renovation process. Regular site visits and open communication with your contractor can help ensure that any issues are promptly addressed and that the project stays on track.


The Finishing Touches

The final step in creating your open-plan space is selecting furniture, fixtures, and accessories that enhance the functionality and aesthetic of your new layout. Opt for pieces that complement the overall design and provide flexibility to accommodate various activities.


Conclusion

Transitioning to an open-plan living space can dramatically transform your home, creating a more versatile, light-filled, and sociable environment. You can achieve a seamless blend of beauty, functionality, and modernity by carefully planning and executing your renovation project. Remember, the success of an open-plan layout lies in its ability to adapt to its occupants' evolving needs and lifestyles, making your home not just a place to live, but a space to thrive.

Overhead view of a modern apartment layout with two bedrooms, living area, dining table, and balcony.
September 24, 2025
Explore the pros and cons of open vs. closed floor plans and learn how Home 360 Construction designs layouts that match your lifestyle and vision.
May 20, 2025
Just because your bathroom is short on square footage doesn’t mean it has to be short on style or functionality. With clever design strategies and materials, small bathrooms can feel spacious, luxurious, and fully functional. Whether you're working with a powder room or a compact master bath, here are smart renovation ideas to help you significantly impact a tiny space. 1. Go Vertical with Storage In small bathrooms, wall space is your best friend. Install vertical shelving, floating vanities, or recessed medicine cabinets to keep the floor clear and visually open. Consider: Open shelves above the toilet Wall-mounted towel racks Tall, narrow storage cabinets These solutions help reduce clutter while maintaining accessibility. 2. Choose a Floating Vanity A floating (wall-mounted) vanity creates the illusion of more space by exposing more floor area. It’s a modern, sleek option that also makes cleaning easier. Pair it with a vessel sink or an under-mount sink for a streamlined look, and consider a vanity with drawers instead of doors to maximize usable storage space. 3. Opt for a Walk-In Shower Ditching the bathtub in favor of a walk-in shower can save significant space. Frameless glass shower enclosures visually open up the room and make it feel larger. Add a recessed shower niche for shampoo bottles and built-in benches for function without sacrificing square footage. 4. Use Light, Reflective Colors Light colors make any room feel larger. Choose whites, soft grays, or pale neutrals for walls, tile, and cabinetry to brighten the space and reflect natural or artificial light. Glossy or reflective tile finishes can also help bounce light around the room, creating a more open atmosphere. 5. Add Big Mirrors A well-placed mirror is a tried-and-true trick for opening up small spaces. Consider installing a large, frameless mirror over the vanity — or better yet, run a mirror wall-to-wall above the sink to double the visual space. Mirrors amplify light and create a sense of depth. 6. Incorporate Smart Lighting Layered lighting is essential in small bathrooms. Combine overhead lights with vanity sconces or LED backlighting around mirrors to eliminate shadows and enhance the perception of space. If natural light is limited, choose daylight-balanced bulbs to mimic the feel of sunlight. 7. Use Space-Saving Fixtures Compact fixtures are designed specifically for tight spaces. Look for: Corner sinks or toilets Wall-mounted faucets Sliding shower doors These choices free up valuable space without sacrificing functionality. 8. Keep the Design Simple Too many patterns or design elements can overwhelm a small space. Stick to a cohesive color palette and limit visual clutter. Clean lines, minimal decor, and streamlined hardware will help your bathroom feel more open and relaxing. Conclusion Small bathrooms may be limited in size, but they can still pack a punch with the right design choices. By maximizing storage, choosing smart fixtures, and embracing light and simplicity, you can create a spacious, stylish bathroom, and perfectly tailored to your needs. Whether you're doing a complete renovation or a quick refresh, these ideas will help your tiny bathroom make a big impression